
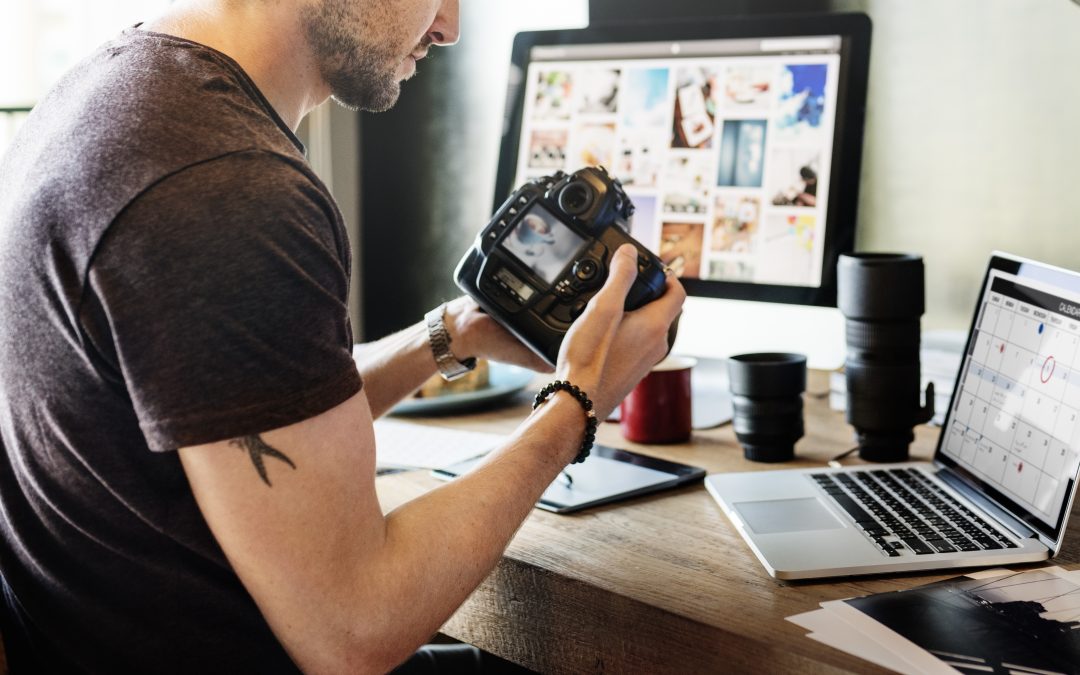
Did you know that more than 80 million photos are uploaded to Instagram daily? Instagram may be a photo-based social platform, but it isn’t the only one getting attention. In 2014, it was reported that people upload an average of 1.8 billion digital images per day. Since then, the world’s most powerful social networks have only grown in popularity and function, with Facebook recently surpassing 2 billion monthly users.
So, how can you make your photos on social media work for instead of against you? Let’s talk social media photography tips to improve your image quality.
Implement the “Rule of Thirds” When Framing Your Image
Composition is incredibly important if you want your image to be striking and memorable. If you ever took a photography or art class in school, the term “rule of thirds” likely rings a bell. If your camera or smartphone has a grid function you can utilize that, otherwise imagine a tic-tac-toe grid within your frame (creating 9 equal boxes). The subject or important visual elements of your photo should not be centered in the middle grid, but rather situated where the lines intersect. This adds depth and captivates longer interest, increasing audience engagement.
Utilize Your Best Friend – Natural Light
Unless you are trying to achieve a specific nighttime aesthetic, it is always wise to use natural light to your advantage when taking social media photography. Fluorescent lighting and glaring flashes can wash out skin tones and eliminate background details. Direct sunlight can be harsh and cause people to squint when you need them most, so try sticking to shaded light to eliminate harsh shadows instead. Flattering outdoor lighting can notably be experienced during the “golden hour” shortly after a sunrise or before a sunset. If indoors, face your subject toward a bright window, open the curtains and let the natural light in!
Refocus! Tap the Darkest Area of the Frame to Adjust Lighting
In a perfect world, natural light would always be an cooperative option – but that’s just not the case. When you don’t have great lighting, using either your DSLR camera or smartphone, you can adjust it by turning off the flash and tapping the darkest area of your photo. The camera will automatically adjust for proper lighting and refocus on that specific area. Don’t get discouraged if your image seems to be too bright or too dark on your first tap – play around with this and try focusing on a medium toned object to achieve balanced lighting and your desired depth of field.
Fine Tune & Sharpen Your Social Media Photography (But Not too Much)
Oftentimes the main difference we see between our personal photos, and the landscape and portrait images that really blow us away on Instagram and other social platforms, is a difference in clarity and saturation. If you are taking business photos from your cell phone, but your phone case is dirty or the camera is outdated, your photos aren’t going to feature the same resolution as the latest phone cameras on the market. If your images aren’t taken in a high resolution mode, they will also lose clarity in the upload process when enlarged to Facebook and similar platforms.
First impressions matter, and in this day and age, you can’t afford to lose clients because your social media photography is blurry or forgettable. Aim to shoot photos in a high resolution mode for maximum clarity when transferring images, but utilize editing features to sharpen your photo about 15 percent more for a clearer edge. Avoid overdoing it when it comes to sharpening and saturation, as it’s simple to distort your image. It also sends a telltale sign to your audience that you’re depending on filters a bit too much, and let’s be honest, that’s not a good look. Instead, manually adjust the contrast, highlights and shadows for a more naturally enhanced look.
Want more helpful tips? Sign up for our My Content Co newsletter or visit our blog today.